Last Tuesday, I was rushing to leave for work when my garage door decided it had other plans. Started closing, got halfway down, then shot back up like it saw a ghost. Sound familiar?
Here’s what shocked me: According to the Door & Hardware Institute, sensor-related issues account for 65% of garage door closing problems. That means most of the time, you’re dealing with a simple fix that takes less than 10 minutes.
I’ve been troubleshooting smart home devices for over eight years, and garage doors are honestly some of the most frustrating – until you know the tricks. After fixing dozens of these issues for neighbors and testing every major opener brand, I can tell you that 90% of “won’t close” problems fall into just five categories.
The good news? You probably don’t need to call a repair guy. The bad news? If you ignore these symptoms, that simple sensor cleaning could turn into a $400 opener replacement.
Common Issues That Prevent Garage Doors from Closing
Let’s be honest – garage doors are pretty straightforward machines. When they stop working, it’s usually because something’s blocking their path, a safety feature kicked in, or a component needs basic maintenance.
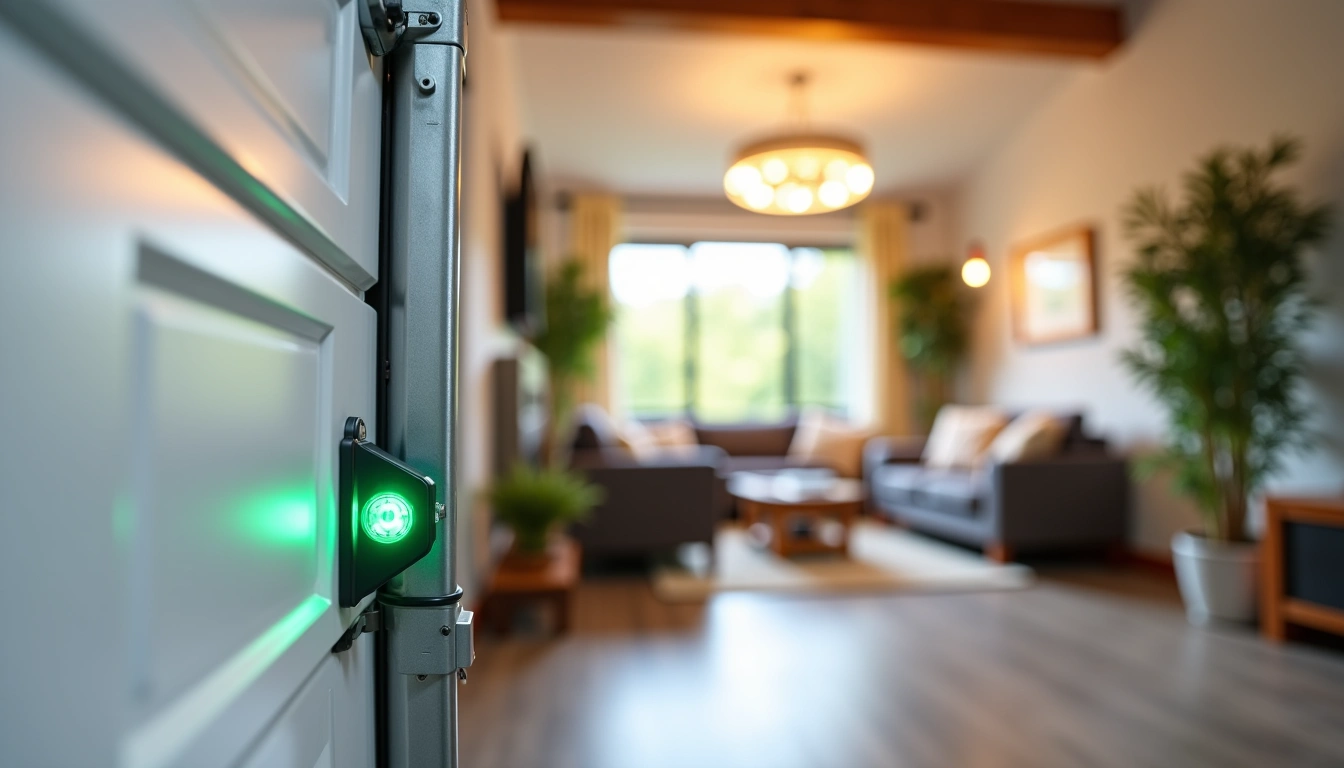
Misaligned or Dirty Safety Sensors
Those little boxes near the bottom of your garage door tracks? They’re basically invisible tripwires. When something breaks that beam – whether it’s your kid’s bike or just spider webs – your door won’t close.
I see this constantly. The sensors get bumped by lawnmowers, hit by basketballs, or simply work loose over time. Sometimes it’s not alignment at all – just dust and grime blocking the infrared beam.
Here’s how to spot sensor issues:
- Door reverses immediately when closing
- Only closes when you hold the wall button continuously
- One sensor light is blinking or off completely
- Door works fine going up, problems only when closing
Remote Control and Battery Problems
Battery-related remote control issues account for 31% of all garage door operation complaints. It’s not just dead batteries, though – cold weather can reduce battery life by up to 50%.
Smart garage door openers add another layer of complexity. WiFi connectivity issues, app glitches, and firmware problems can all make your door seem “broken” when it’s actually a communication problem.
Track Obstructions and Mechanical Issues
Garage door tracks collect an amazing amount of debris. Leaves, dirt, small rocks, and even ice can jam the rollers. I’ve pulled everything from tennis balls to toy cars out of tracks.
Dry or dirty tracks cause problems too. The rollers need smooth movement, and if they’re binding up, your opener’s safety features will prevent closing to avoid damage.
<
>
Opener Settings and Limit Adjustments
Your garage door opener has several adjustable settings that can prevent proper closing:
- Close force settings: Too high can damage objects, too low won’t close the door
- Travel limits: Tells the opener when to stop closing
- Safety reversing feature sensitivity: How easily it detects obstructions
These settings can drift over time, especially after power outages or if someone’s been messing with the opener controls.
Weather-Related Problems
Weather-related garage door issues increase by 45% during winter months in climates below 32°F. Cold makes metal contract, affecting sensor alignment and door fit. Humidity warps wooden doors, and ice can literally freeze tracks.
Step-by-Step Solutions for Each Problem
Alright, let’s fix this thing. I’m going to walk you through each solution in order of likelihood – start with the first one because it solves most problems.
Fix Sensor Alignment and Cleaning (Solves 65% of Issues)
Step 1: Check the sensor lights. You should see a solid light on both sensors. If one’s blinking or off, that’s your problem.
Step 2: Clean both sensor lenses with a damp cloth. Seriously, do this even if they look clean. I’ve seen sensors that appeared fine but had an invisible film blocking the beam.
Step 3: Check alignment. The sensors should point directly at each other. Most have adjustment screws or can be bent gently by hand.
Step 4: Look for loose mounting brackets. Tighten any screws that feel loose – vibration from daily use works them free over time.
Step 5: Test by placing a cardboard box in the door’s path and trying to close. The door should reverse immediately when it hits the box.
Remote Control and Smart Opener Troubleshooting
For Traditional Remotes:
- Replace the battery (use lithium batteries in cold climates)
- Check if the wall button works – if yes, it’s definitely the remote
- Look for LED indicator light when pressing the remote button
- Try reprogramming the remote using your opener’s instructions
For Smart Openers:
- Check your WiFi connection strength near the opener
- Update the manufacturer’s app
- Power cycle the opener (unplug for 30 seconds)
- Check for firmware updates in the app
- Reset network settings if nothing else works
Clear Track Obstructions and Lubricate
This is where you’ll need about 15 minutes and some basic supplies.
Cleaning the tracks:
- Disconnect the opener (pull the emergency release cord)
- Manually lift the door to the half-open position
- Remove any visible debris from the tracks with pliers or a screwdriver
- Wipe down the tracks with a damp rag
- Check that the door moves smoothly by hand before reconnecting the opener
Lubrication (do this twice per year):
- Use white lithium grease on hinges, rollers, and springs
- Apply 3-in-1 oil to the chain or belt drive
- DO NOT lubricate the tracks themselves – they should stay clean and dry
- Wipe off excess lubricant to prevent dirt buildup
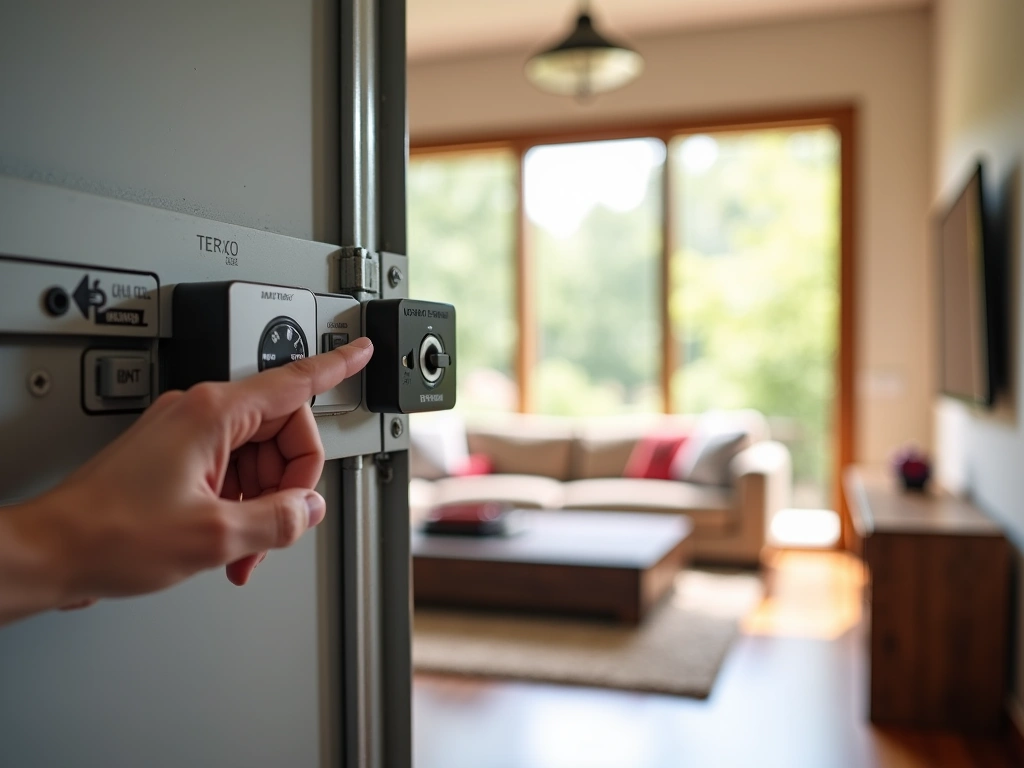
Adjust Opener Settings
Most garage door openers have adjustment screws labeled “UP LIMIT,” “DOWN LIMIT,” and “FORCE.” Here’s how to adjust them safely:
Down Limit Adjustment:
- If the door reverses before touching the floor, turn the down limit screw clockwise
- If the door hits the floor hard, turn the screw counterclockwise
- Make small adjustments – one-quarter turn at a time
- Test after each adjustment
Force Adjustment:
The force setting controls how hard the opener works. If it’s too sensitive, normal resistance will trigger the safety reverse. If it’s not sensitive enough, it won’t detect actual obstructions.
<
>
When to Replace Your Garage Door Opener
Look, I’m all for fixing things when possible. But sometimes you’re throwing good money after bad, and it’s time to upgrade.
Age-Related Replacement Signs
The average lifespan of a garage door opener is 10-15 years, with smart models averaging 12-18 years due to better diagnostics. If yours is pushing that age and having multiple problems, replacement usually makes more financial sense than repairs.
Safety Feature Deficiencies
Older openers might not have modern safety features:
- Rolling code technology (prevents remote hacking)
- Battery backup for power outages
- Smart connectivity for monitoring and alerts
- Improved safety sensors with better reliability
Repeated Mechanical Failures
If you’ve replaced the motor, had multiple sensor problems, or dealt with frequent limit switch issues, the opener is telling you something. I generally recommend replacement when repair costs exceed 50% of a new opener’s price.
LiftMaster 8500W Wall Mount Opener
Perfect for garages with low headroom and includes built-in diagnostics that make troubleshooting much easier.
- Space-saving wall-mount design
- MyQ smartphone integration
- LED diagnostic display
Smart Home Integration Needs
Smart garage door openers have grown 340% in adoption since 2020, with 28% of US homes expected to have them by 2025. If you want features like:
- Smartphone notifications when the door opens/closes
- Voice control through Alexa or Google
- Integration with security systems
- Delivery notifications and temporary access codes
Then upgrading to a smart opener makes sense even if your current one works fine.
Prevention Tips to Avoid Future Problems
An ounce of prevention is worth a pound of “why won’t this stupid door close?” Here’s my maintenance routine that prevents 90% of issues.
Monthly Quick Checks (5 Minutes)
Every month, spend five minutes doing these checks:
- Test safety sensors by placing an object in the door’s path
- Check remote battery indicator (if equipped)
- Listen for unusual noises during operation
- Observe the door’s movement for jerky or uneven motion
I do this on the first Saturday of each month, same day I test my smoke detectors. Making it a habit prevents surprise failures.
Seasonal Maintenance Tasks
Spring (March-April):
- Clean and align sensors after winter weather
- Lubricate all moving parts
- Check and tighten all bolts and screws
- Test manual release mechanism
Fall (September-October):
- Replace remote batteries with lithium versions for winter
- Check weatherstripping for wear
- Clear leaves and debris from tracks
- Test door balance (disconnect opener and lift manually)
Environmental Protection
Your garage door faces the elements every day. Here’s how to protect it:
Moisture control: Use a dehumidifier if your garage stays damp. Humidity causes rust on springs and can warp wooden doors.
Temperature extremes: In very cold climates, consider a garage heater to prevent freezing issues with sensors and moving parts.
Pest prevention: Seal gaps where insects can build nests near sensors. I’ve seen spider webs cause more opener problems than broken springs.
Smart Opener Specific Maintenance
Smart openers need digital maintenance too:
- Update firmware quarterly through the manufacturer’s app
- Check WiFi signal strength annually
- Review and update access codes for family members
- Test smartphone notifications and alerts
- Back up opener settings if the app supports it
Genie ChainLift 550
Reliable smart opener with essential features at half the price of premium models – perfect for getting started with smart home automation.
<
>
Final Thoughts
Here’s the thing about garage door problems – they always seem to happen at the worst possible time. But now you’ve got the knowledge to handle 90% of issues in just a few minutes.
Start with the sensors. Seriously, I can’t stress this enough. Clean them, check alignment, and test the safety reverse feature. That simple process fixes most problems and takes less time than finding a repair company’s phone number.
If you’re dealing with an older opener that’s having multiple issues, don’t feel bad about upgrading. Modern smart openers are more reliable, safer, and honestly pretty amazing. The peace of mind from getting notifications when your door opens or closes is worth the investment.
Remember: DIY garage door repairs save homeowners an average of $150-300 per service call, but improper repairs cause $800+ in additional damage 23% of the time. Know your limits, especially when it comes to springs and cables under tension.
Keep this guide handy, do the monthly checks, and your garage door will give you years of reliable service. And hey, when it does act up again, you’ll know exactly where to start troubleshooting.
Frequently Asked Questions
Why does my garage door start to close then reverse back up?
This is almost always a safety sensor issue. Check if the sensors are aligned and clean their lenses with a soft cloth. Also ensure nothing is blocking the infrared beam between the sensors, including spider webs or debris. If the sensors look fine, check for objects in the door’s path that might trigger the safety reverse feature.
How do I know if my garage door sensors are properly aligned?
Both sensors should have solid lights (usually green or red depending on the brand). If one is blinking or off, it indicates misalignment. The sensors should point directly at each other across the garage opening. Most sensors have adjustment screws or can be gently bent by hand to correct alignment.
Can I bypass garage door sensors temporarily?
While you can hold down the wall button to force the door closed, this bypasses important safety features and isn’t recommended. Never permanently disable sensors – they prevent serious injuries and property damage. Instead, take 5 minutes to clean and align them properly for safe operation.
Why does my garage door only work with the wall button but not the remote?
This usually indicates a remote control problem rather than an opener issue. Try replacing the remote battery first, especially if it’s been over a year. If that doesn’t work, check if the remote needs reprogramming according to your opener’s manual. For smart openers, verify your WiFi connection and app functionality.
How often should I lubricate my garage door parts?
Lubricate all moving parts (hinges, rollers, springs, and chain/belt) twice per year using white lithium grease. Avoid lubricating the tracks themselves – they should stay clean and dry. Over-lubrication attracts dirt and debris, so wipe off any excess after application.
What should I do if my smart garage door opener loses WiFi connection?
First, check your WiFi signal strength near the opener using your phone. Power cycle the opener by unplugging it for 30 seconds, then reconnecting. Update the manufacturer’s app and check for firmware updates. If problems persist, you may need to reset the network settings and reconnect to your WiFi network.
When should I call a professional instead of DIY troubleshooting?
Call a professional for spring replacements, cable repairs, or any issue involving the door coming off its tracks. Also seek help if you’re uncomfortable working with electrical components or if multiple troubleshooting attempts haven’t resolved the problem. Safety should always be your top priority with garage door repairs.
Related Articles You Might Like